

Go + React 指北
开发环境搭建
基于 gvm 安装 go 开发环境
# install gvm,用来管理多个 go 版本
bash < <(curl -s -S -L https://raw.githubusercontent.com/moovweb/gvm/master/binscripts/gvm-installer)

source ~/.gvm/scripts/gvm
gvm install go1.17.3
gvm use go1.17.3 --default

# add path to ~/.bashrc or ~/.zshrc

export GOPATH=~/go
export PATH=$PATH:$(go env GOPATH)/bin
export GOPROXY=https://goproxy.cn,direct // 设置代理
基于 nvm 安装 node 开发环境
# install nvm
curl -o- https://raw.githubusercontent.com/nvm-sh/nvm/v0.39.1/install.sh | bash

# install node
nvm install v16.9.1
# 安装tnpm
npm install --registry=https://registry.npm.alibaba-inc.com -g tnpm
tnpm i yarn @ali/yarn -g
ayarn -v
项目初始化 && demo 开发
初始化 go 项目
初始化
go module
# 初始化 go module
go mod init go-template.com
初始化 gin 框架,创建
main.go文件,内容如下
package main

import (
    "net/http"

    "github.com/gin-gonic/gin"
)

func main() {
    // 1.创建路由
    r := gin.Default()
    // 2.绑定路由规则,执行的函数
    // gin.Context,封装了request和response
    r.GET("/", func(c *gin.Context) {
        c.String(http.StatusOK, "hello World!")
    })
    // 3.监听端口,默认在8080
    // Run("里面不指定端口号默认为8080")
    r.Run(":8000")
}
开发环境启动,即可自动下载模块依赖,并启动 http://localhost:8000/ web server
# 下载依赖
go mod tidy
# 运行go
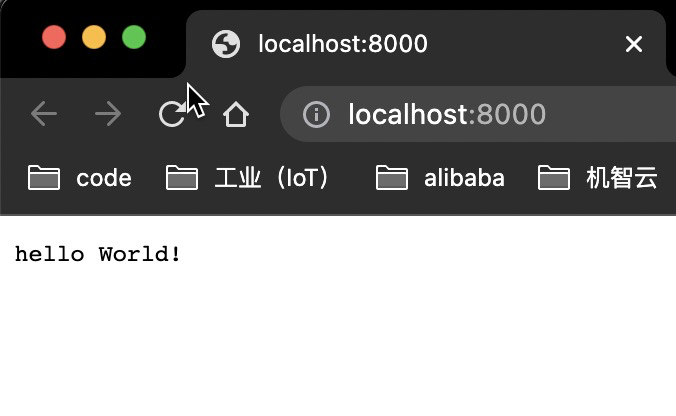
go run main.go至此,一个简单的web服务已经成功跑起来,访问 http://localhost:8000/ 即可看到以下页面
连接数据库
这里为了方便演示,这里使用 gorm + sqlite 的方式,实现db存储,详细文档见 gorm
增加两个接口,支持前端修改配置
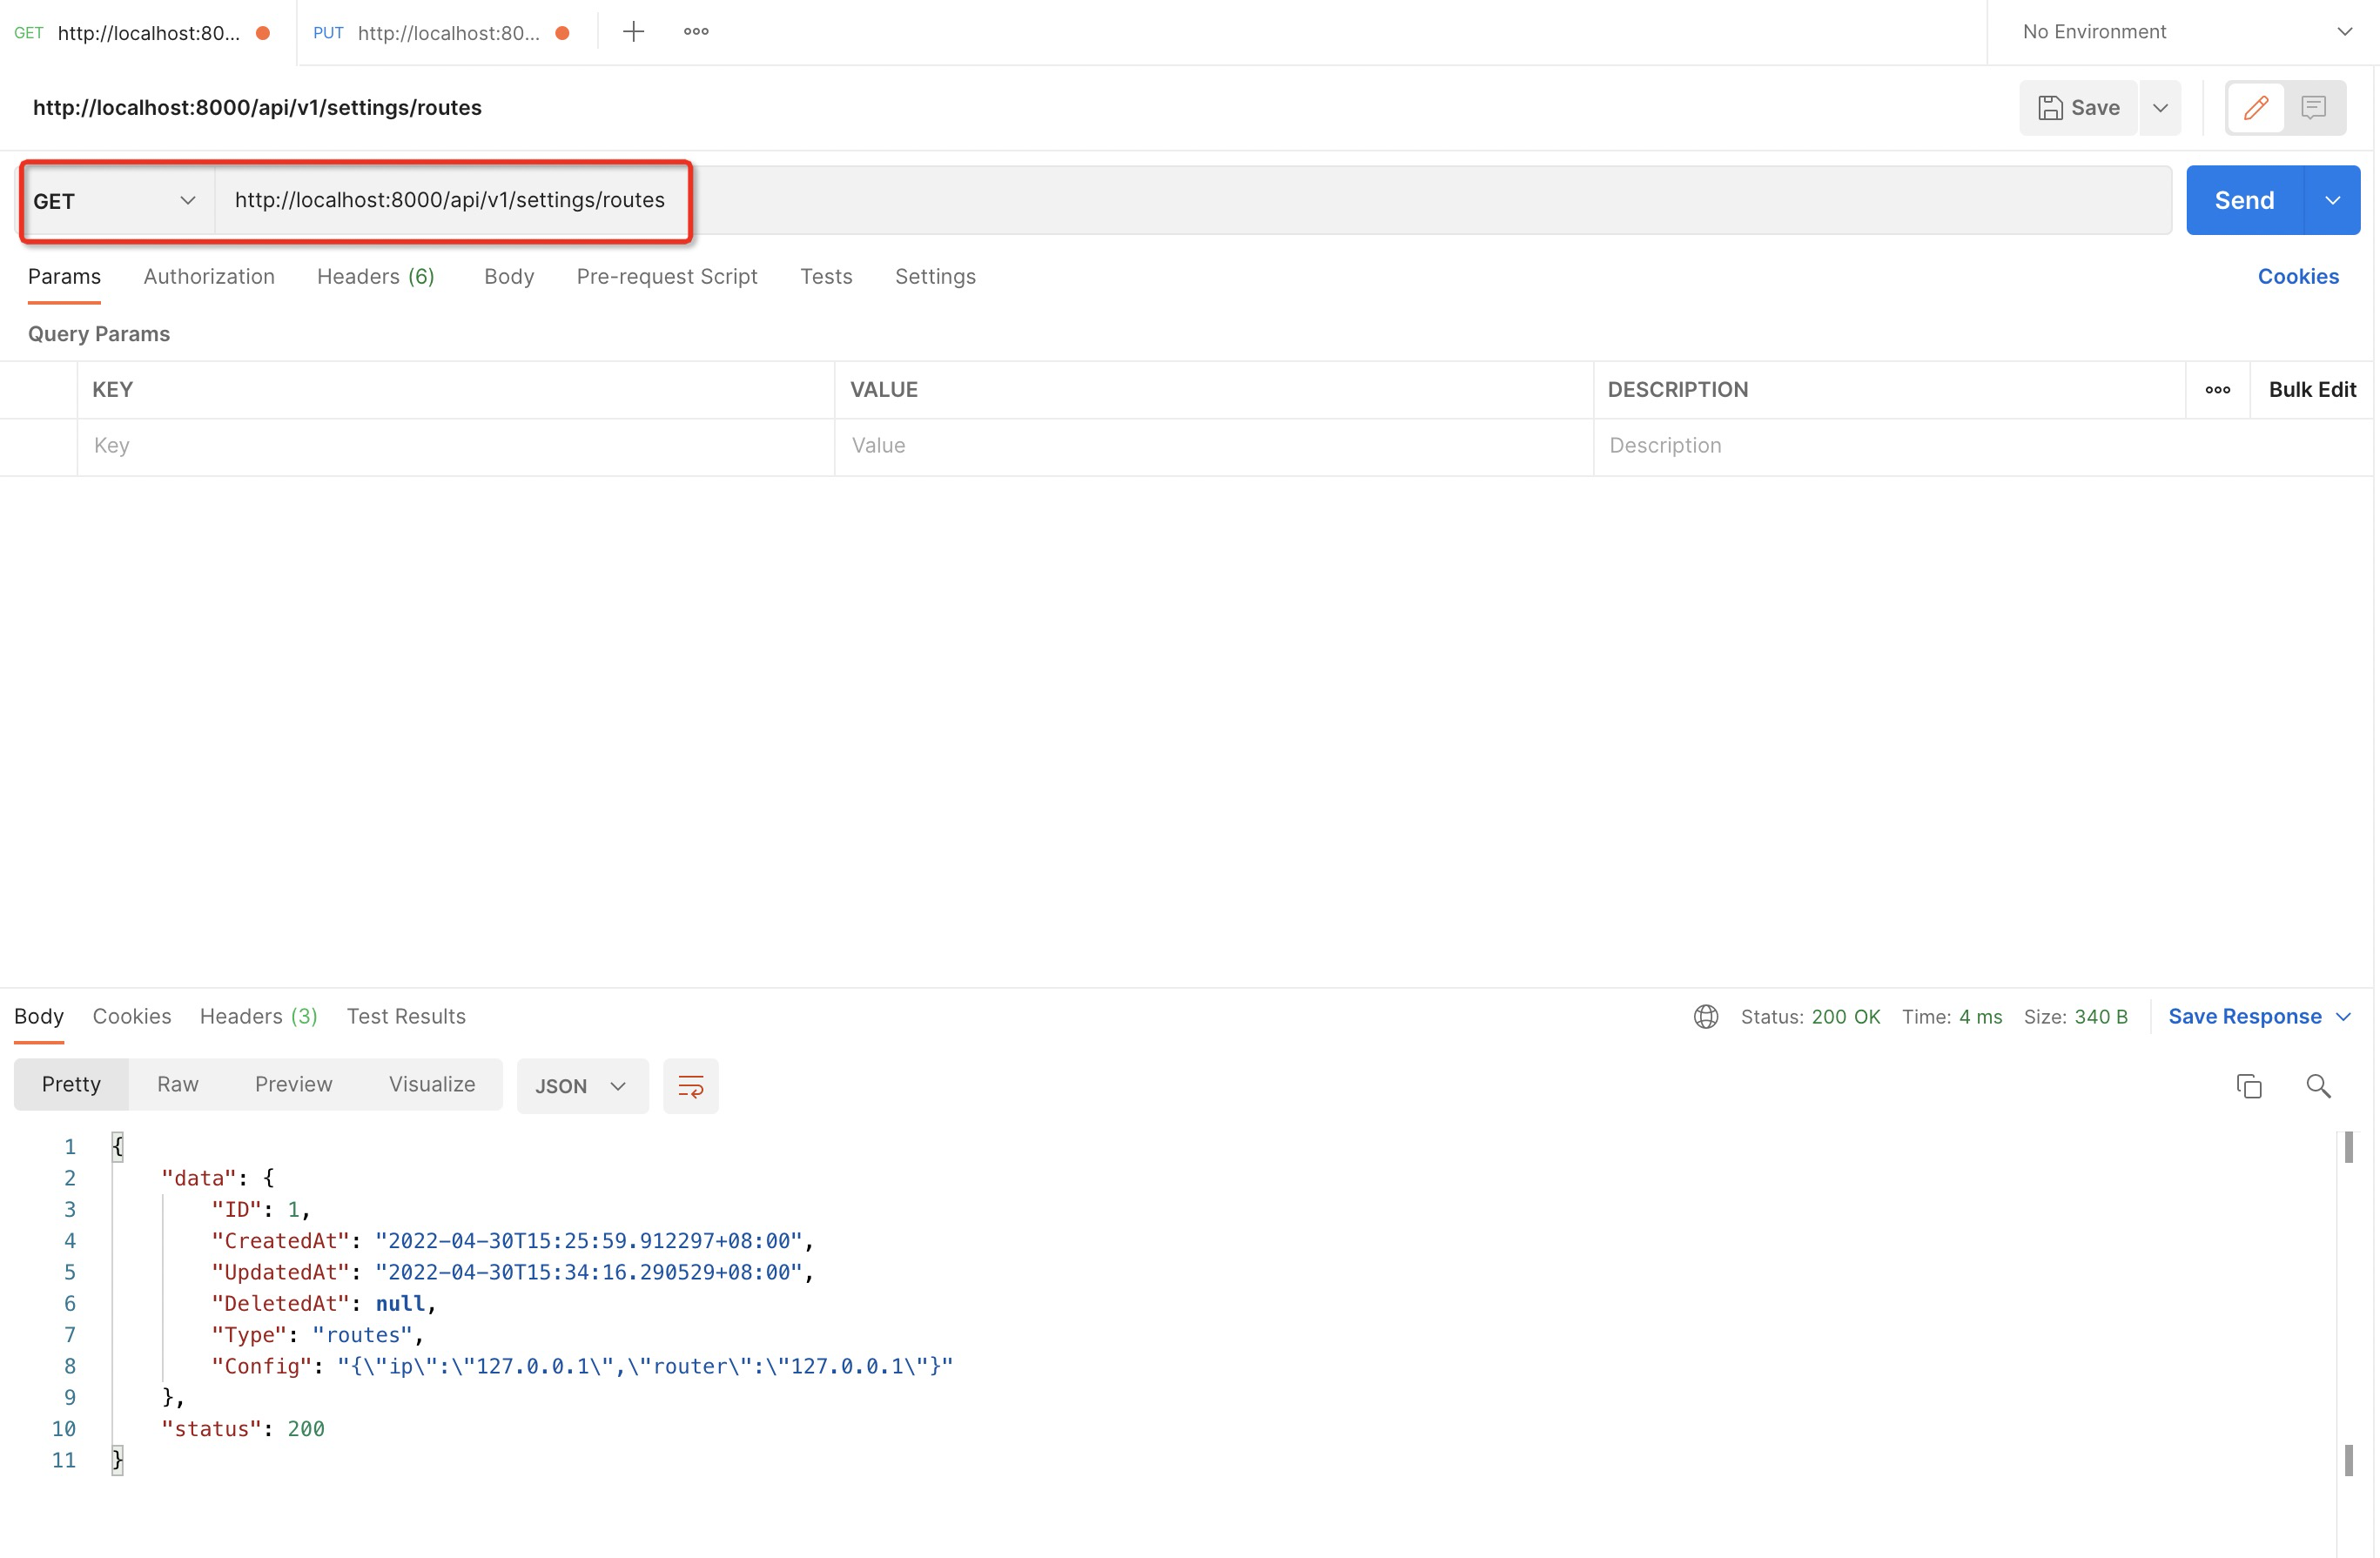
根据配置类型,获取配置信息,按照 restful api 定义,路由如下
GET /api/v1/settings/:type
postman 请求如下:
根据配置类型,更新配置信息,按照restful api 定义,路由如下
PUT /api/v1/settings/:type
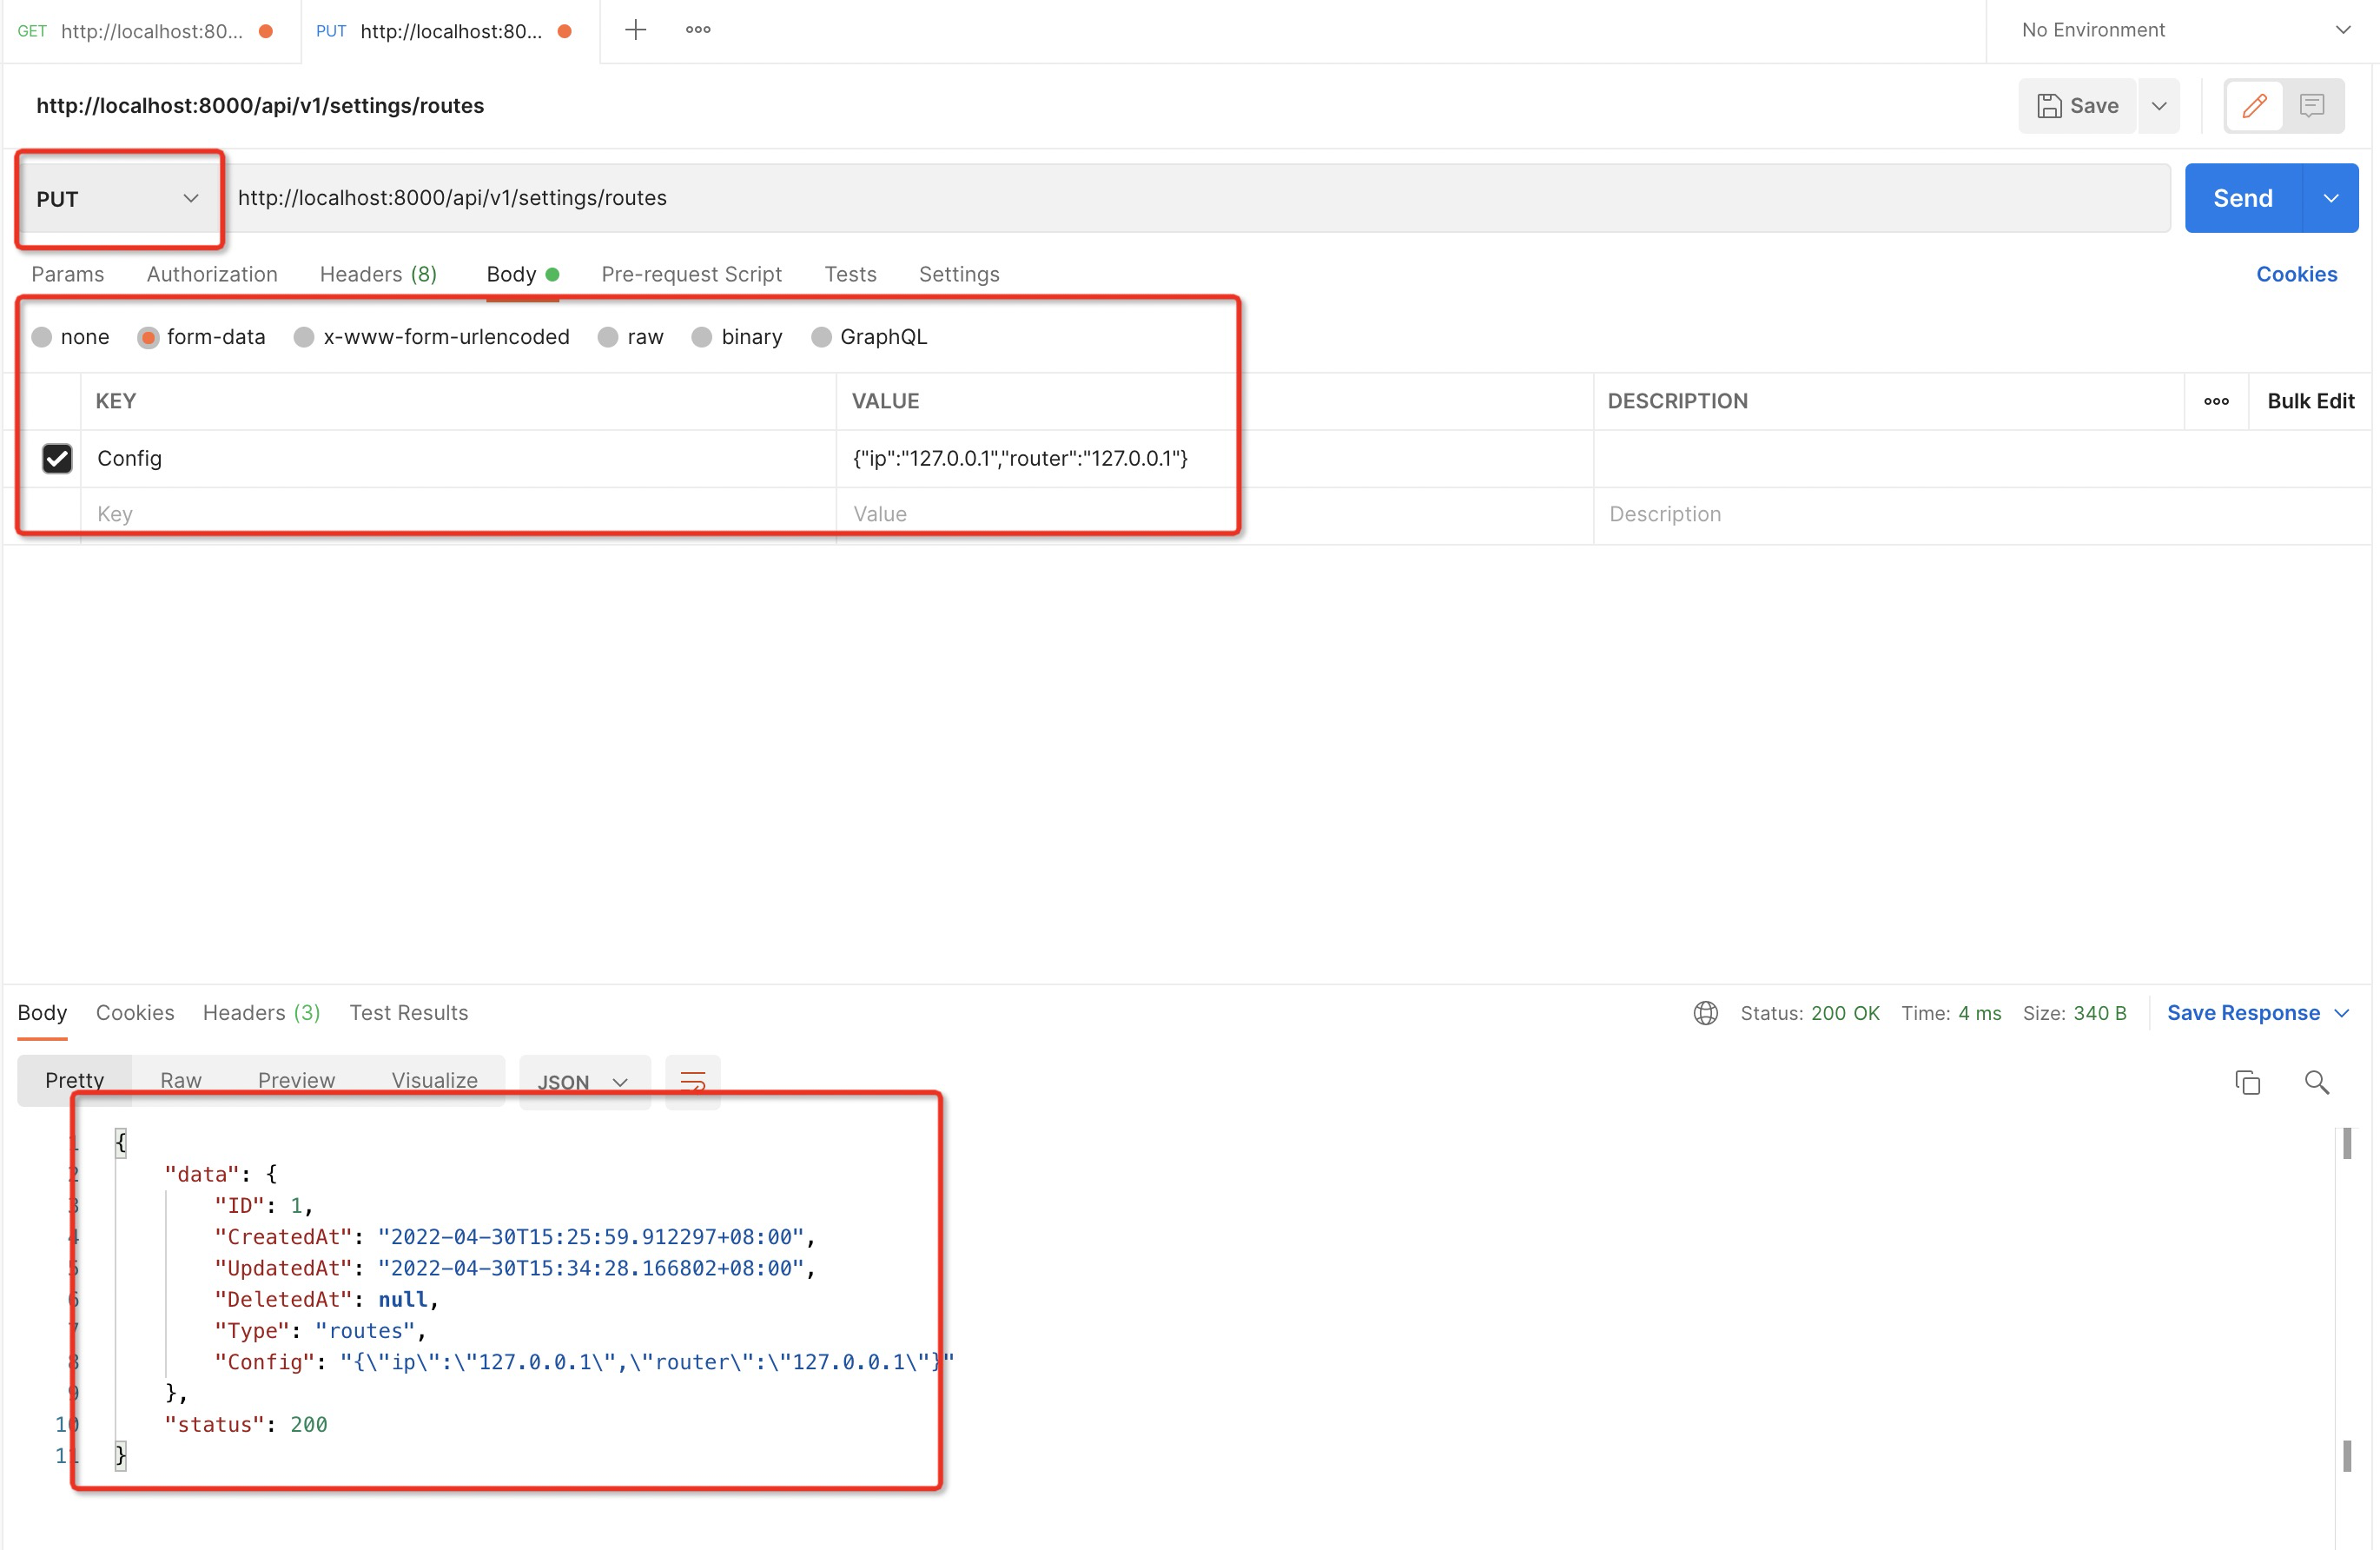
关键代码如下:
package main

import (
  "net/http"

  "github.com/gin-gonic/gin"
  "gorm.io/driver/sqlite"
  "gorm.io/gorm"
)

type Settings struct {
  gorm.Model
  Type   string
  Config string
}

func main() {
  db, err := gorm.Open(sqlite.Open("test.db"), &gorm.Config{})
  if err != nil {
    panic("failed to connect database")
  }

  // 迁移 schema, 自动创建表结构
  db.AutoMigrate(&Settings{})

  // 1.创建路由
  r := gin.Default()
  // 2.绑定路由规则,执行的函数
  // gin.Context,封装了request和response
  r.GET("/", func(c *gin.Context) {
    c.String(http.StatusOK, "hello World!")
  })

  // 根据类型获取配置
  r.GET("/api/v1/settings/:type", func(c *gin.Context) {
    var setting Settings
    setingType := c.Param("type")

    db.FirstOrCreate(&setting, Settings{Type: setingType})
    c.JSON(http.StatusOK, gin.H{"status": http.StatusOK, "data": setting})
  })

  // 根据类型更新配置
  r.PUT("/api/v1/settings/:type", func(c *gin.Context) {
    var setting Settings
    setingType := c.Param("type")

    db.Where("Type = ?", setingType).First(&setting)

    if setting.ID == 0 {
      c.JSON(http.StatusNotFound, gin.H{"status": http.StatusNotFound, "message": "No todo found!"})
      return
    }

    db.Model(&setting).Update("Config", c.PostForm("Config"))
    c.JSON(http.StatusOK, gin.H{"status": http.StatusOK, "data": setting})

  })

  // 3.监听端口,默认在8080
  // Run("里面不指定端口号默认为8080")
  r.Run(":8000")
}
初始化前端项目
umijs: https://umijs.org/zh-CN/docs/getting-started
reactjs: https://zh-hans.reactjs.org/
# 当前目录下,创建 client 目录
mkdir client && cd client
# 初始化基于 umijs react 项目
ayarn create @umijs/umi-app
# 安装依赖
ayarn
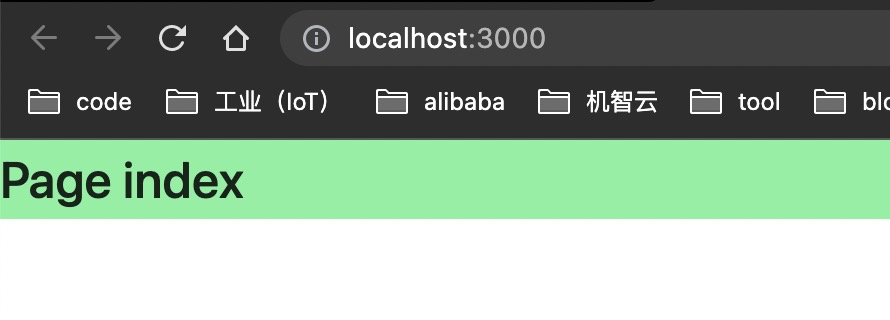
# 启动项目,默认8000端口,为了不合go端口冲突,这里指定3000端口
PORT=3000 ayarn start通过以上操作之后,即可访问 http://localhost:3000/ ,你会看到以下界面
接下来引入工业自定义业务组件,提高开发效率
引入统一布局
# 增加工业组件
ayarn add @ali/iotx-industry-components
// 新增文件 client/src/layouts/index.jsx,内容如下
import React from 'react';
import {
AppLayout,
NavItem,
MenuGroup,
MenuItem,
} from '@ali/iotx-industry-components';
/** 主题需要,实际使用不需要引入 **/
import '@alife/theme-27810/variables.css';
import '@alife/theme-27810/dist/next.min.css';
export default ({ children }) => {
return (
<AppLayout
appName={'Go Demo'}
appNav={
<div
style={{
display: 'flex',
flexDirection: 'column',
}}
>
<NavItem active title={'配置'} type="Nav-yemian" />
<NavItem title={'应用'} type="Nav-zujian" />
<NavItem title={'其他'} type="Nav-tubiaokanban" />
</div>
}
appMenu={
<React.Fragment>
<MenuGroup title="基础">
<MenuItem active title="路由配置" />
<MenuItem title="主备配置" />
</MenuGroup>
<MenuGroup title="高级">
<MenuItem title="系统配置" />
<MenuItem title="其他配置" />
</MenuGroup>
</React.Fragment>
}
appContent={
<div
style={{
position: 'absolute',
top: 0,
left: 0,
right: 0,
bottom: 0,
padding: "10px 20px",
height: "100vh",
background: '#f2f5fa',
}}
>{children}</div>
}
/>
);
};// 修改 .umirc.ts 文件
import { defineConfig } from 'umi';
export default defineConfig({
nodeModulesTransform: {
type: 'none',
},
routes: [
{ exact: false, path: '/', component: '@/layouts/index',
routes: [
{ exact: true, path: '/', component: '@/pages/index' },
],
},
],
fastRefresh: {},
});
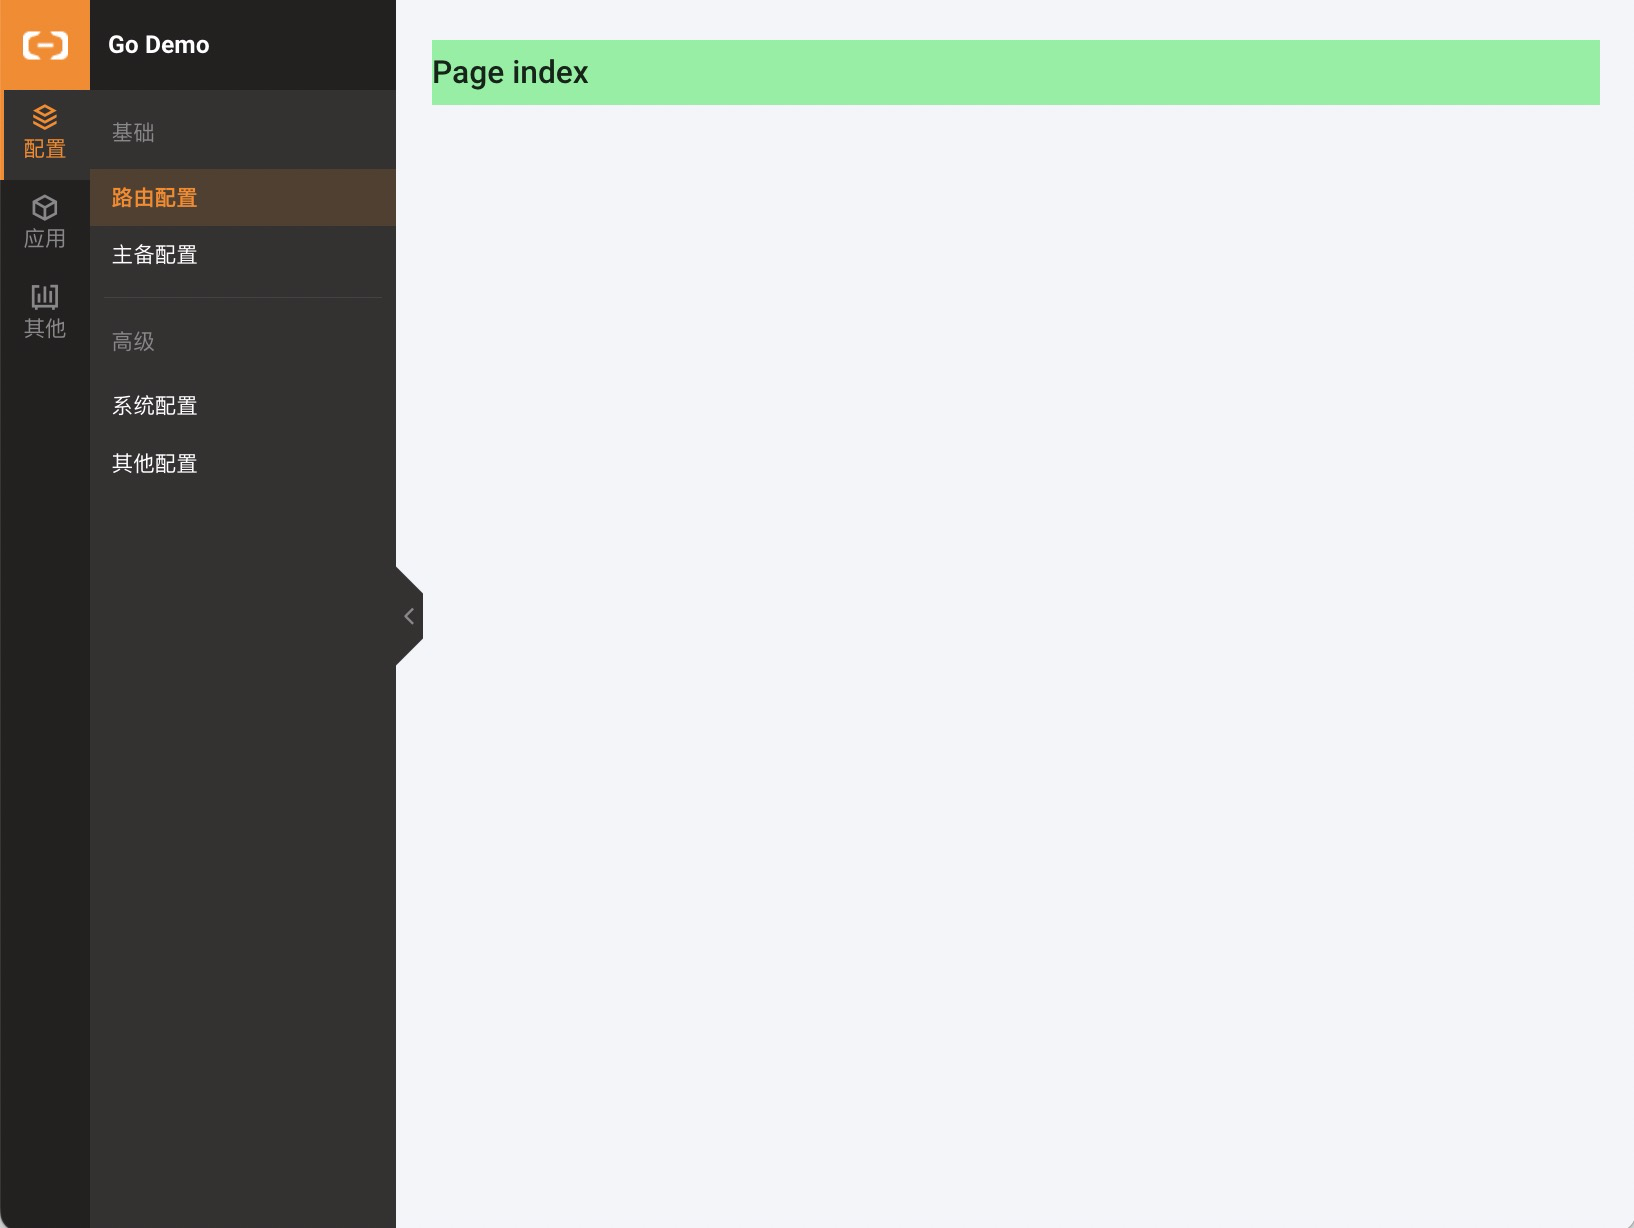
至此,基本页面已经出来,截图如下:
增加配置页面
简单增加一个路由配置页面,相对代码如下
把 client/src/pages/index.tsx 改成 client/src/pages/index.jsx,并添加以下代码
import React from 'react';
import { Form, Input, Select, Field, Button, Message } from '@alifd/next';
import { request } from 'umi';

import styles from './index.less';

const FormItem = Form.Item;
const Option = Select.Option;

const formItemLayout = {
  labelCol: {
    span: 8
  },
  wrapperCol: {
    span: 16
  }
};

export default class IndexPage extends React.Component {
  constructor(...args) {
    super(...args);
    this.field = new Field(this, { });
  }

  componentDidMount() {
    request('/api/v1/settings/routes', {}).then(({ data }) => {
      if (data && data.Config) {
        try {
          const config = JSON.parse(data.Config);
          this.field.setValues(config);
        } catch (error) {
          console.log(error);
        }
      }
    });
  }

  handleSubmit() {
    this.field.validate((errors, values) => {
      if (errors) {
        Message.error("请填写完整!!");
      } else {
        Message.loading({ title: '正在提交!' });
        request('/api/v1/settings/routes', {
          method: 'put',
          requestType: 'form',
          data: {
            Config: JSON.stringify(values),
          },
        }).then(({ data }) => {
          Message.hide();
          if (data && data.Config) {
            try {
              const config = JSON.parse(data.Config);
              this.field.setValues(config);
              Message.success('保存成功!');
            } catch (error) {
              console.log(error);
            }
          }
        })
      }
    });
  }

  render() {
    const { init, reset } = this.field;
    return (
      <Form field={this.field} className={styles.form } {...formItemLayout}>
        <FormItem
          label="IP 地址"
          hasFeedback
          required
        >
          <Input placeholder="192.168.1.2" {...init('ip', {
            rules: [{ required: true }]
          })} />
        </FormItem>
        <FormItem
          label="子网掩码"
          hasFeedback
          required
        >
          <Input {...init('subnetMask', { initValue: '255.255.255.0', rules: [{ required: true }]})}/>
        </FormItem>

        <FormItem
          label="默认网关"
          required
        >
          <Input {...init('defaultGateway', { rules: [{ required: true }]})}/>
        </FormItem>

        <FormItem
          label="首选 DNS 服务器"
          required
          hasFeedback
        >
          <Input {...init('firstDns', { rules: [{ required: true }] })}/>
        </FormItem>
        <FormItem
          label="备用 DNS 服务器"
          hasFeedback
        >
          <Input {...init('secondDns')}/>
        </FormItem>

        <FormItem
          label="MAC 克隆"
          required
          hasFeedback
        >
          <Select style={{ width: '100%' }} {...init('macClone', { rules: [{ required: true }]})}>
            <Option value="no">不使用 MAC 克隆</Option>
            <Option value="computer">使用您电脑的 MAC 地址</Option>
            <Option value="manual">手动输入 MAC 地址</Option>
          </Select>
        </FormItem>

        <FormItem wrapperCol={{ offset: 4 }}>
          <Button
            type="primary"
            onClick={this.handleSubmit.bind(this)}
            style={{ marginRight: 10 }}
          >保存</Button>
          <Button
            onClick={() => {
              reset();
            }}
            style={{ marginRight: 10 }}
          >重置</Button>
        </FormItem>
      </Form>
    );
  }
}
添加样式文件
.form {
  position: fixed;
  top: 50%;
  left: 50%;
  width: 400px;
  height: 50%;
  transform: translateX(-50%) translateY(-50%);
  padding: 20px;
}
开发环境代理至Go服务端
import { defineConfig } from 'umi';
export default defineConfig({
...
// 增加以下代理接口
proxy: {
'/api': {
'target': 'http://localhost:8000/',
'changeOrigin': true,
}
},
...
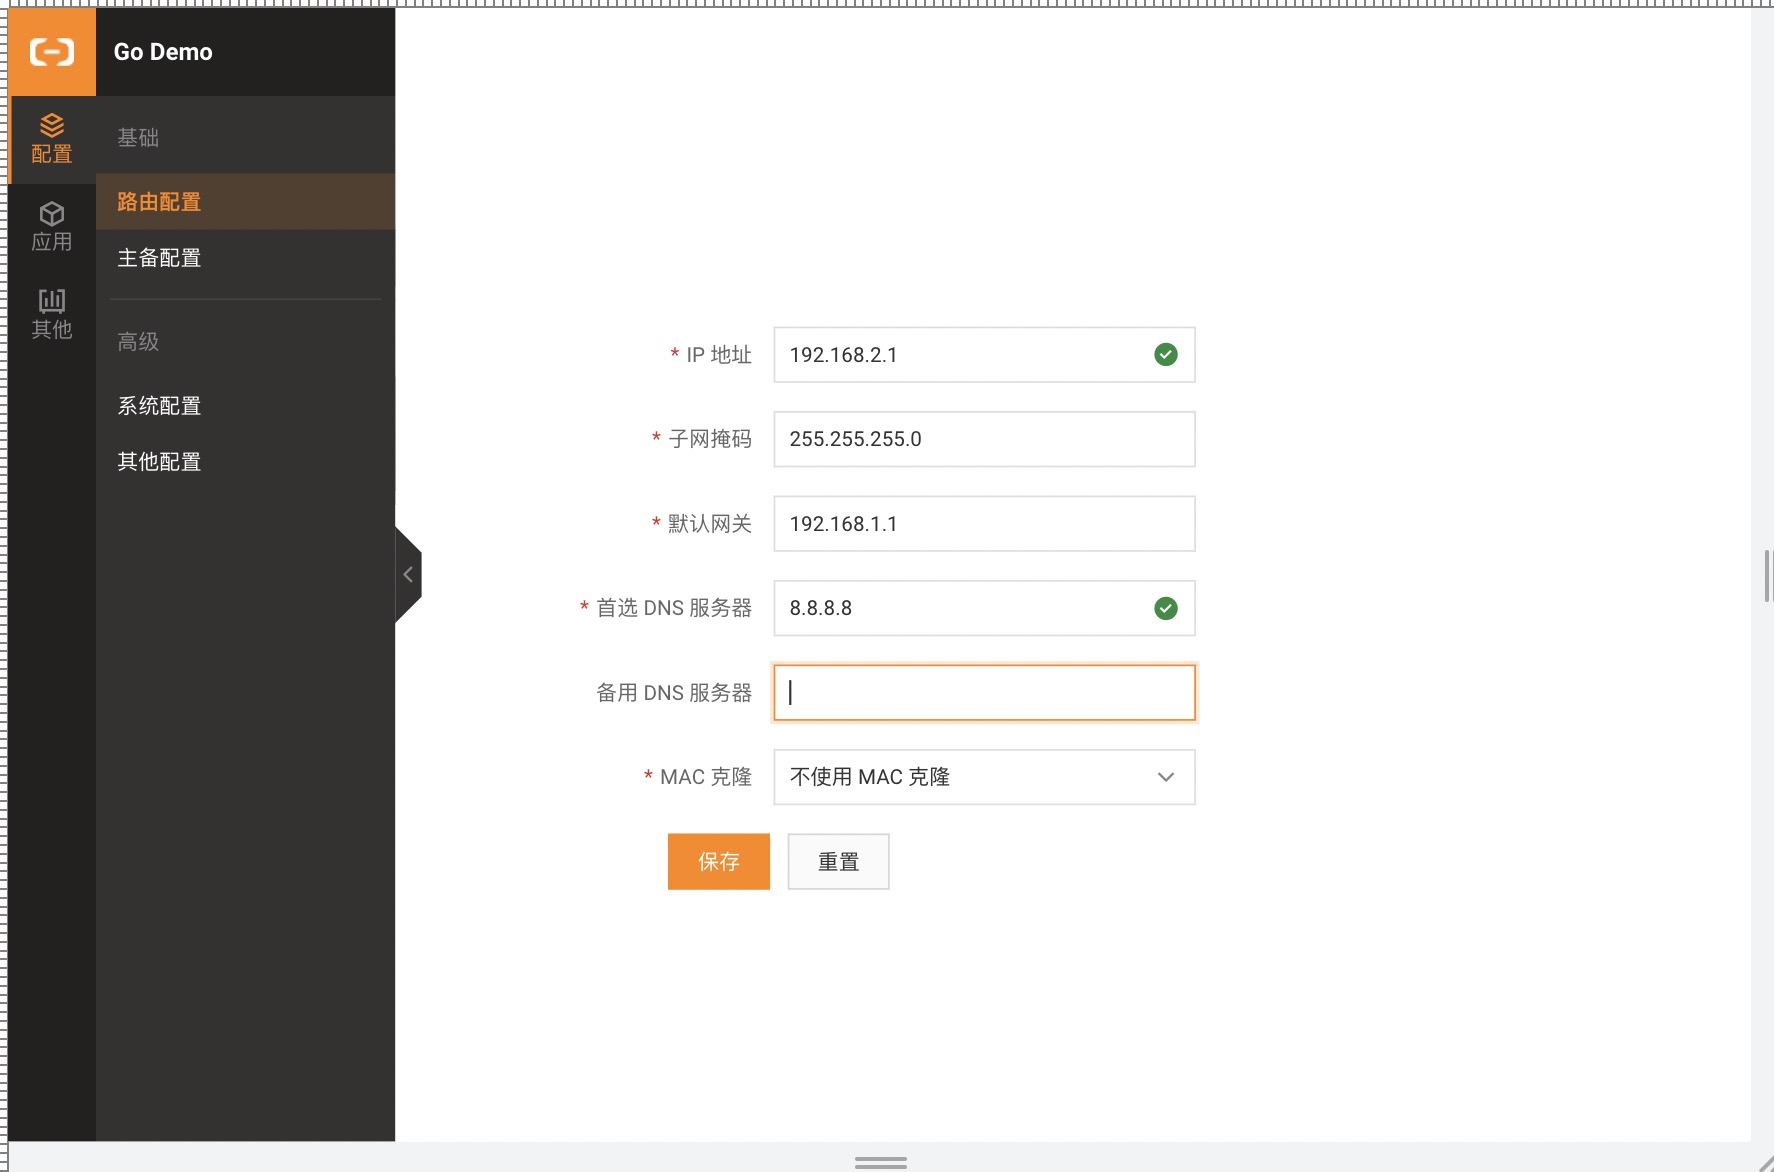
});至此功能已经全部开发完成,访问 http://localhost:3000/ 界面如下:
项目编译 && 部署
开发环境
## 启动go
go mod tidy && go run main.go

# 启动 react
cd client && ayarn && PORT=3000 ayarn start

# 打开开发环境
open localhost:3000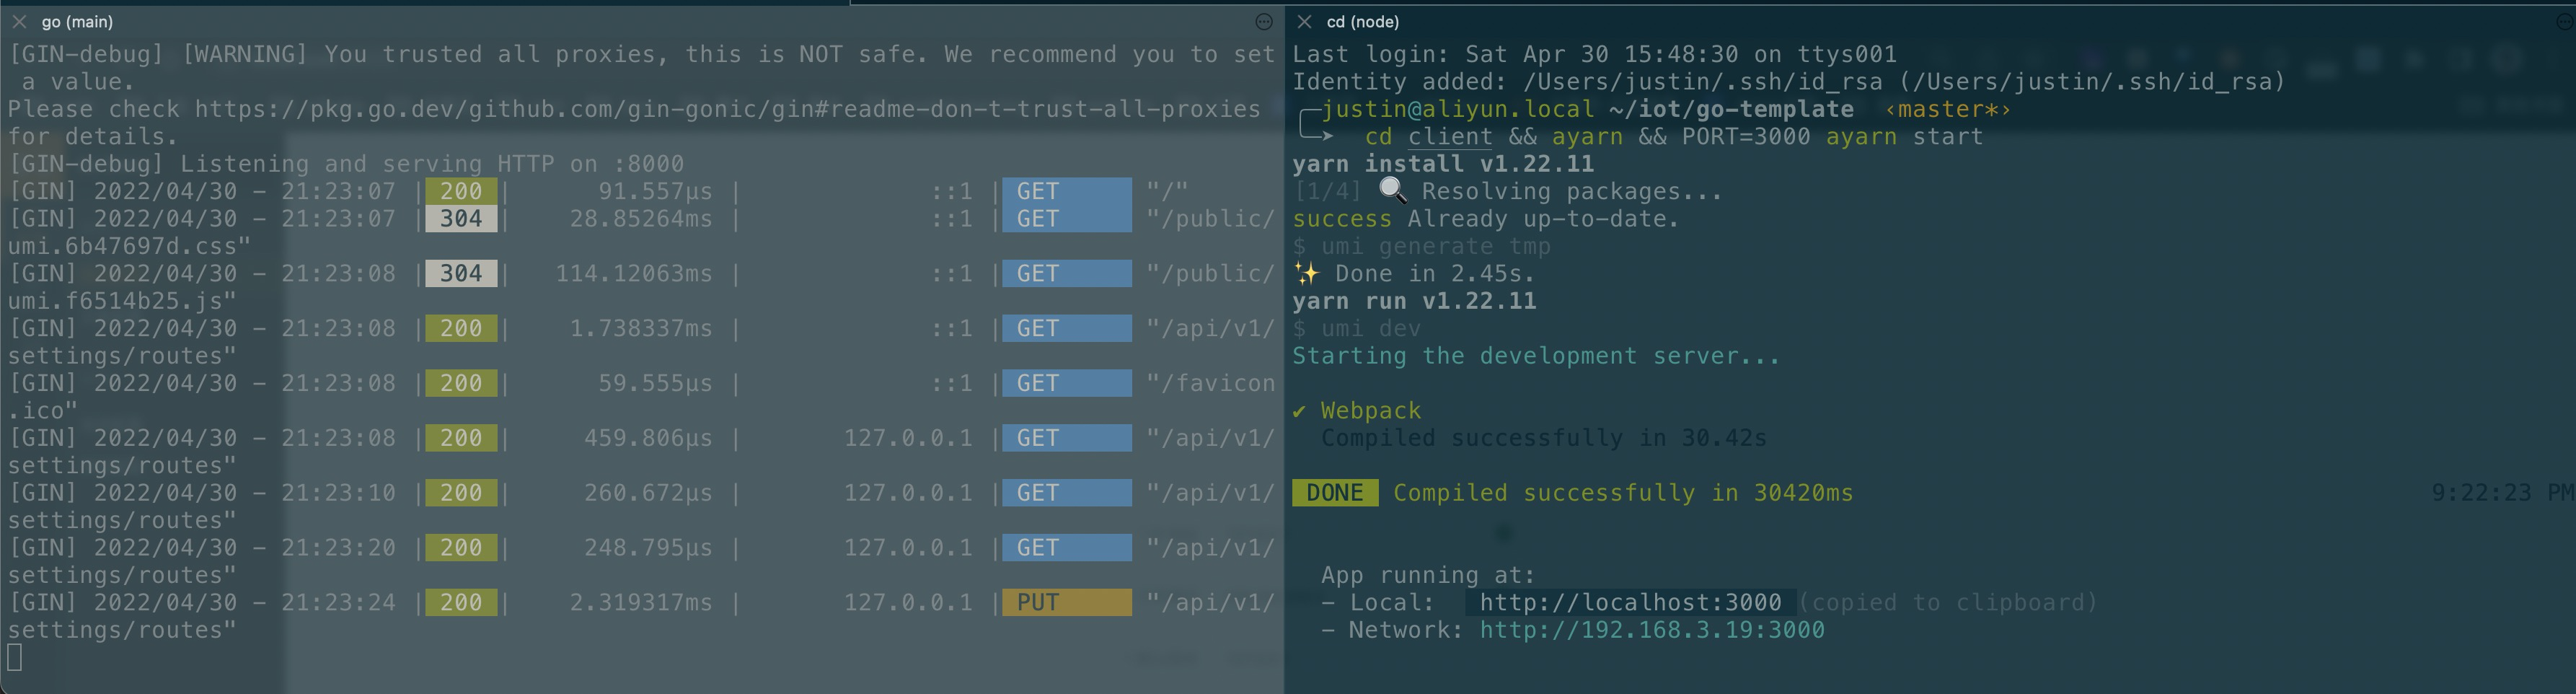
基于此,实现通过访问 http://localhost:3000/ 代理访问 go api 服务
生产服务合并(go + node => go)
我们开发环境基于两套webserver开发:go + node,生产环境我们需要保持一套环境,那么我们需要解决两个问题
静态资源以bindata方式和go一起打包输出
默认路由代理至前端静态资源 index.html
引入 go-bindata
go get -u github.com/go-bindata/go-bindata/...

# 生成静态资源
tnpm run --prefix client build

# 静态资源转 bindata
go-bindata -o=asset/asset.go -pkg=asset  public/...
通过 go-bindata 方式加载静态资源
package main

import (
    "fmt"
    "net/http"

    assetfs "github.com/elazarl/go-bindata-assetfs"
    "github.com/gin-gonic/gin"
    "go-template.com/asset"
    "gorm.io/driver/sqlite"
    "gorm.io/gorm"
)

// 请求统一代理至前端静态资源
func HandleHTML(c *gin.Context) {
    c.Header("Content-Type", "text/html; charset=utf-8")
    html, err := asset.Asset("public/index.html")

    if err != nil {
        fmt.Printf("load html error :%v\n", err)
        c.JSON(500, "服务器内部错误")
    }
    c.String(200, string(html))
    // c.HTML(200, "index.html", gin.H{
    // 	"title": "管控平台",
    // })
}

func main() {
    ...

    // 1.创建路由
    r := gin.Default()

    /*静态资源绑定*/
    r.LoadHTMLFiles("public/index.html")
    fs := assetfs.AssetFS{Asset: asset.Asset, AssetDir: asset.AssetDir, AssetInfo: asset.AssetInfo, Prefix: "public"}
    r.StaticFS("/public", &fs)

    // 2.绑定路由规则,执行的函数
    r.NoRoute(HandleHTML)

    ...
}
# 下载 go 依赖
go mod tidy

# 运行go服务,此时访问 localhost:8000 即可访问前后端合并后服务
go run main.go
发布
添加 build.sh 文件,内容如下
set -e

rm -rf public/*

# 前端代码编译
tnpm run --prefix client build

# 静态资源移至后端加载目录
mv client/dist/* ./public

# 静态资源转 bindata
go get -u github.com/go-bindata/go-bindata/...
go-bindata -o=asset/asset.go -pkg=asset public/...

# 生产该服务二进制文件,假设目标运行机器为以下两种
# mac 机器
env GOARCH=amd64 GIN_MODE=release go build -o go-demo main.go

# linux 机器
env GOOS=linux GOARCH=amd64 GIN_MODE=release go build -o go-demo-linux main.go
执行构建,生产二进制文件
sh ./build.sh目标产物如下

运行,数据库文件会在运行目录下,自动创建 test.db sqlite 文件
# 在mac下执行,即可运行
./go-demo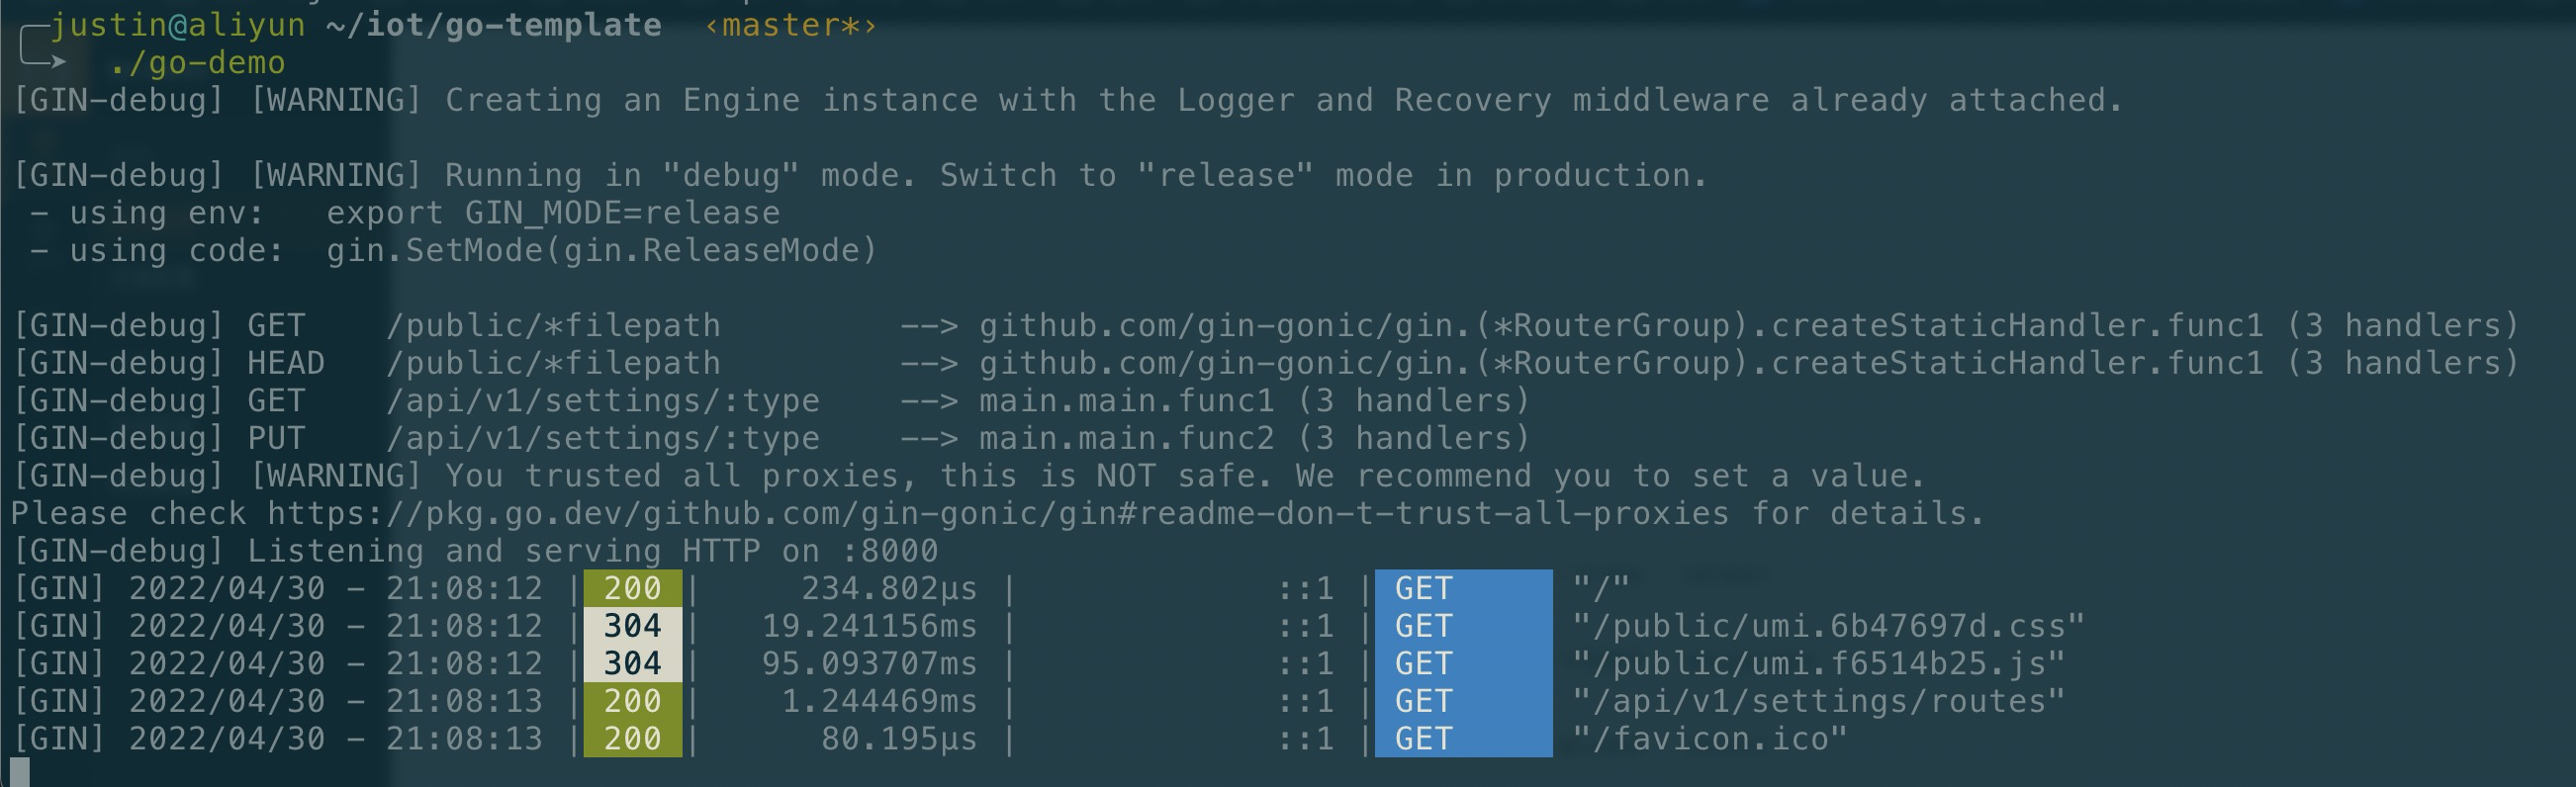
至此,大功告成!!!
时间关系,以下功能未完成
go 目录规范化(MVC)
go 开发环境 热加载
服务部署至linux 服务,并实现开机启动、自重启等
前端性能优化